Easy To Follow: DIY Garden Trellis
One of the few landscaping elements that literally blankets itself with flowers and foliage, a garden trellis brings a welcome sense of peace and serenity to your property. With basic tools, inexpensive materials, and a free day or two, you can build a simple garden trellis that will add grace and charm to your home. Because a garden trellis slowly grows over time as it hosts beautiful flowers, vegetables, and vines, it ages well and adds long-term value to your property.
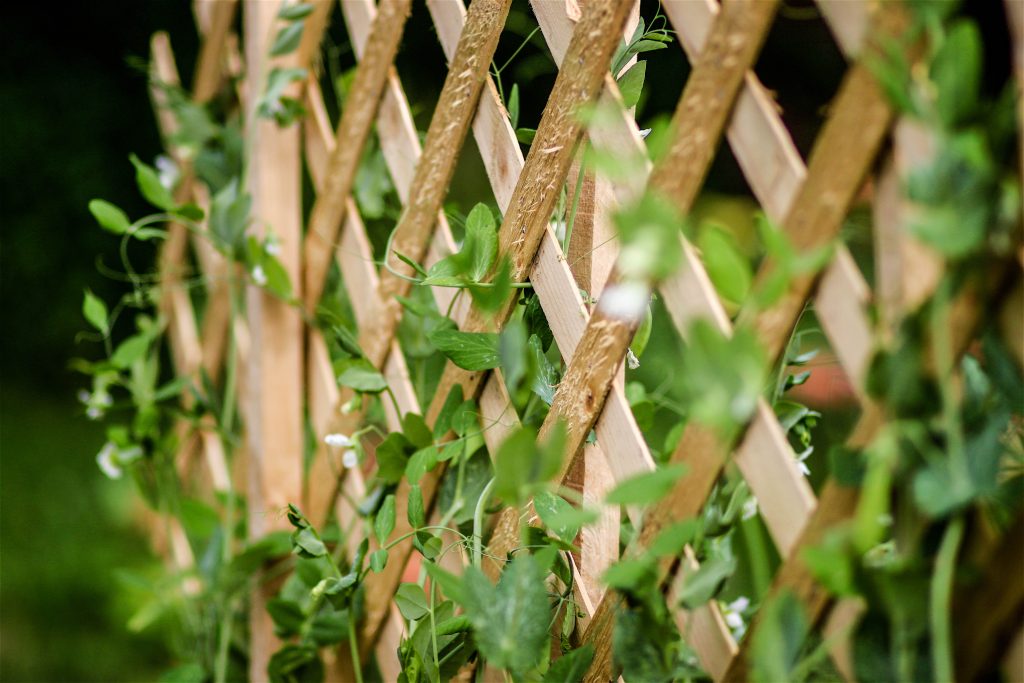
Freestanding Garden Trellis Details
Adopting a few qualities of a boundary fence, this garden trellis stands independent of other structures. This is a significant advantage over trellises that are built on the side of a house, as creeping vegetation can harm a house’s exterior siding. By being freestanding, this trellis is flexible and can be located wherever you like. You may wish to position the trellis westward or southward so that the plants can gain better sun. Or if you like the look of a trellis against a house, you can erect the trellis a foot or two away from the house. You get the same visual effect with none of the damage that comes with plant-to-house contact.
This do-it-yourself guide describes how to build one section of trellis that is 8 feet long and about 6 feet high. This is an entirely scalable project, too. For a longer trellis, simply add more 8-foot sections.
Tools and Materials
- (2) 4x4s: 4 inch x 4 inch x 8-foot pressure-treated lumber
- (7) 1x2s: 1 inch x 2 inch x 8 foot lumber
- (2) 2x2s: 2 inch x 2 inch x 8 foot lumber
- (14) Lath: 5/16 inch x 1-1/2 inch x 8 foot wood lath
- (4) 2×4 galvanized flat rail fence brackets
- (2) Bags of quick-set concrete
- (2) Post covers for 4x4s
- (2) Bags of all-purpose gravel
- Post hole digger (this item can be rented)
- Bubble level
- Hammer
- Hand saw or electric miter saw
- Galvanized exterior grade nails
- Exterior grade screws
Set Fence Posts
Each section of the trellis is anchored at both ends by fence posts. As with building a boundary fence, begin by digging two holes with the post hole digger. Situated 8 feet apart, the holes should be about 9 inches wide by 2-1/2 feet deep.
Pour all-purpose gravel into the holes until you have reached about 6 inches of gravel. Tamp down the gravel with one of the 4×4 posts. Set the 4×4 post in one of the holes and pour the quick-set concrete into the hole, around the post. Pour clean, cool water into the hole up to the ground level or per the instructions listed on the concrete bag. Prop up the 4×4 securely for four hours for the concrete to cure and fully set.
Repeat for the second post.
Attach 2x2s to the Posts
Cut each of the two 2x2s to 5 feet long.
Attach two of the 2×4 galvanized flat rail fence brackets to the inside of one post and two to the other post. Situate them so that the top brackets are about a foot below the top of the post and the bottom brackets are about a foot above ground level.
Attach the 2x2s to the insides of the 4×4 posts, so that they are resting inside of the brackets.
Place each one so that it is about 6 inches lower than the height of the posts.
Screw through the holes in the brackets to secure the 2x2s.
Attach Horizontal Slats
Nail all but one of the lath strips horizontally to the 2x2s, spacing them out by about 5 inches. Begin with the top strip and bring it to level with the bubble level. Next, nail in the bottom strip.
You can play with the spacing as your eye sees fit. You may wish to break up the grid-like pattern by spacing either or both of the top and bottom rows a little bit wider.
Attach Vertical Slats
Attach the 1x2s vertically to the horizontal slats. To prevent wobble, have an assistant hold an anvil or another heavy object behind the nailing surface as you hand-nail. Alternatively, you may wish to use a compressed air or cordless nailer. In this case, back support would be beneficial but not necessary.
Space these vertical slats equally down the line (about 12 inches apart, on-center).
Finishing Touches
Two more elements give your garden trellis a polished look. First, nail the remaining lath strip to the very top of the vertical members. Locate this final lath strip so that its flat side is parallel to the ground. Second, nail the post covers to the tops of the 4x4s. Not only do these covers round off the posts and give them a smoother look, they prevent water from pooling on top of the posts.