Add Worms to Your Compost!
If you are planning to compost your garbage, consider using worms instead of a compost pile. This ensures faster composting and a rich dark fertilizer. Worms are good for the garden soil for multiple reasons. Worms are great excavators. They burrow under the soil and create channels; this provides passages for air and water to permeate the soil. They spend their lives ingesting, digesting, and excreting soil. The excretions are called worm ‘castings’. These castings are rich in nutrients and bacteria. The bacteria contains millions of microbes that help break down nutrients already present in the soil into plant available forms. They secrete a mucus when eating that is a beneficial component that is absent from traditional compost. This mucus slows down the release of nutrients; this prevents necessary nutrients from washing away when it rains or when you water.
The worms’ ability to convert organic waste into nutrient-rich material reduces the need to use synthetic fertilizers. Some synthetic fertilizers contain chemicals that can be harmful over a period of time. The reduction in the use of synthetic fertilizers reduces the amount of these chemicals that end up in storm drains and our waterways.
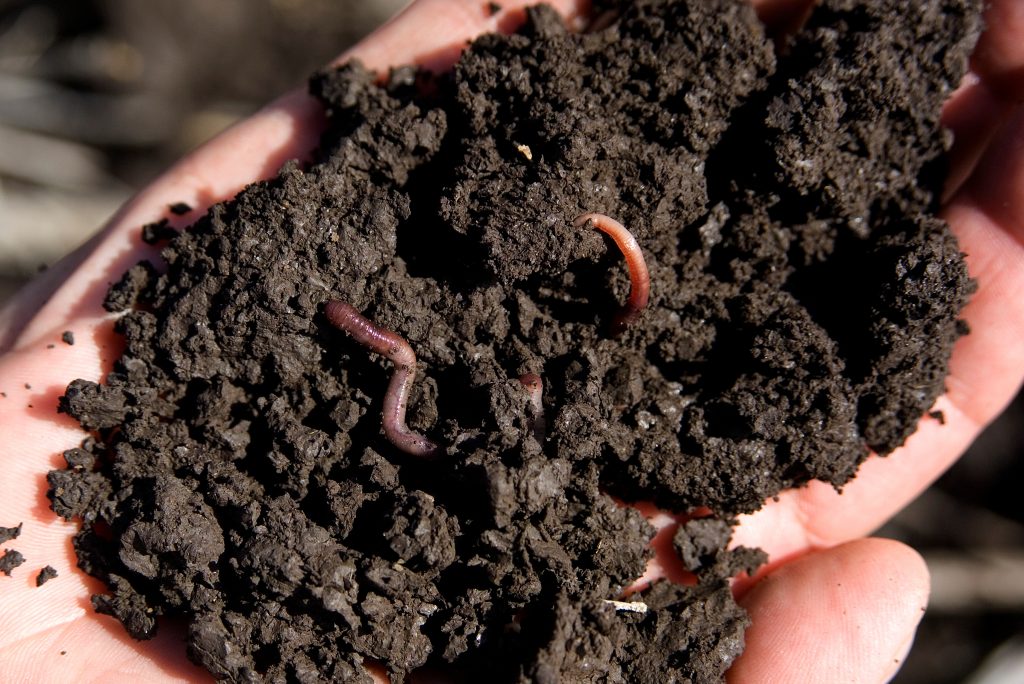
There are a couple of ways to ensure that you are getting benefits from worm castings. The first is making sure that worms are in your garden. Use a shovel and turn some of your soil to see if worms are present. The second is vermiculture and vermicomposting. Vermiculture is the cultivation of worms. Vermicomposting is the process of using worms to transform organic waste into a nutrient rich fertilizer. To accomplish this, you will need worms and some type of bin to contain the worms. You can either build a container or purchase one of the many different varieties in stores or on-line. You can also purchase your worms at nurseries or on-line. The best worms to use are red wigglers (Eisenia Fetida). They are surface worms that stay in the top 18 inches of soil.
The most common material for bins is either wood or plastic. Wood is good because it breathes but will deteriorate faster than plastic (2-3 years). Do not use pressure treated wood due to the chemicals present in the wood. Plastic containers require more holes for aeration but generally last longer. The container needs to have screened holes in the sides or top to allow air in and keep flies out. The ideal bin is usually 12 inches – 18 inches deep. It should be kept in an area that sees temperatures between 59 – 77 degrees Fahrenheit. Worms can tolerate a wider range, but freezing will kill them.
Keep track of how many pounds of organic waste that you produce and throw away each week. Plan the size of your bin based on square footage. Ensure that you have one square foot of surface area for each pound that you throw away each week. This garbage should not include animal products (meat, oils, fats, etc.), onions, and garlic. Worms’ favorite foods are coffee grounds, pumpkin, cantaloupe, and watermelon (any fruits and most vegetable. You can add some grass clippings and leaves (not too much since they heat up the bed). Do not add non-biodegradable material to the bin. The amount of worms that you will need depends on the amount of garbage that you generate. The ratio of worms to garbage is 2:1; for each pound of garbage generated, 2 pounds of worms will be needed.
The bedding for the worms is important. It’s multifunctional because it holds moisture (worms need moisture) and provides a medium for the worms to work and bury garbage. The best bedding is usually some source of material that is light and fluffy. This may include shredded newspaper, shredded cardboard, coconut fiber, or wood chips. Make sure to add a handful or two of soil; this provides grit, which gives the worms the ability to digest.
Worms feed from the bottom up. You will add your garbage on top of the bedding. You can rotate burial spots for your garbage. Be sure to closely monitor the production of worm castings. When the castings appear to overwhelm your worms, it is time to prepare fresh bedding and remove the castings. This is usually every 2 – 3 months. Worm castings are usually too rich to use alone; it can be used as a top dressing or as an enhancement to potting soil. The mix is 1 part castings to 4 part mix.