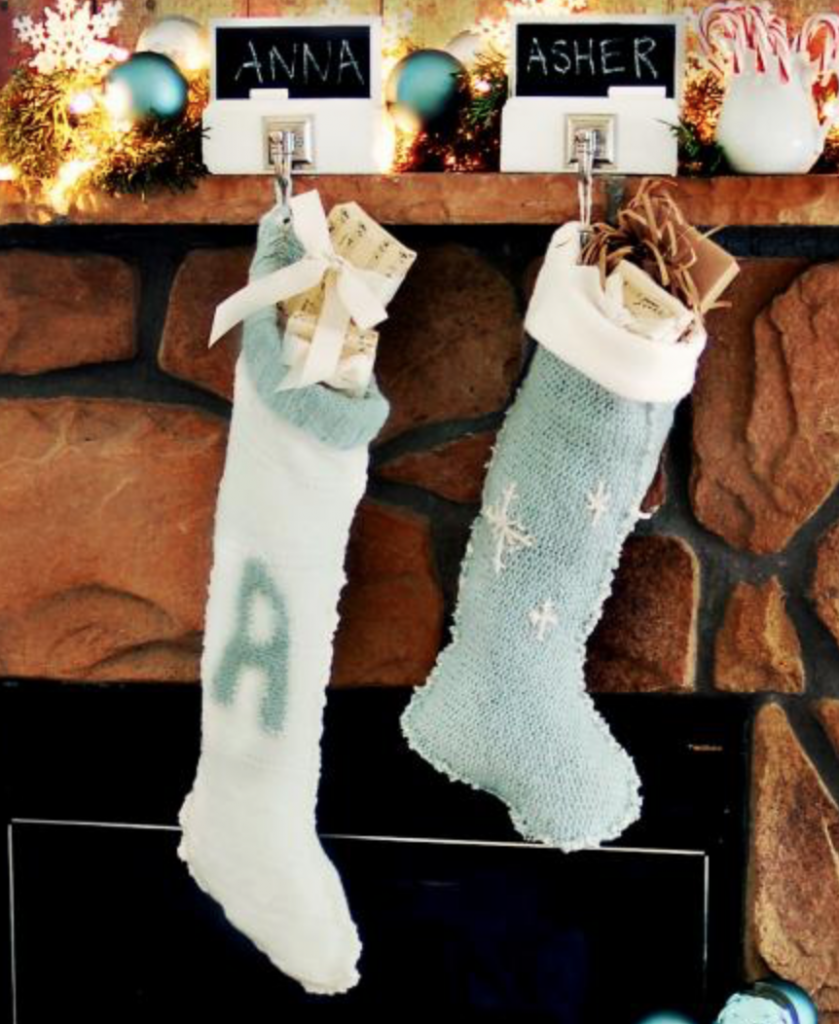
Why buy a cookie-cutter stocking hanger when a custom one can be made with a few staple workshop tools? This project is a perfect way for the woodworker of the family to contribute to the holiday decor.
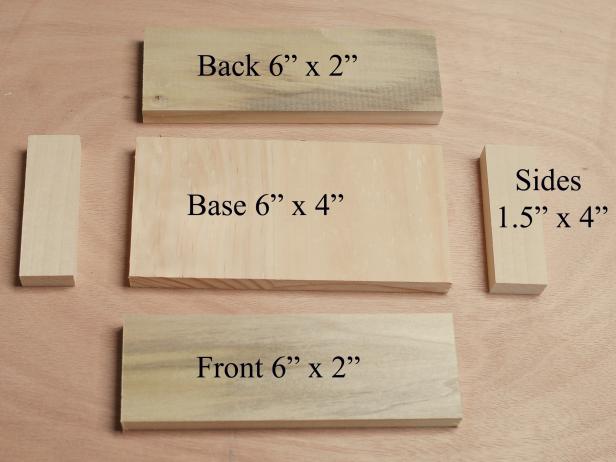
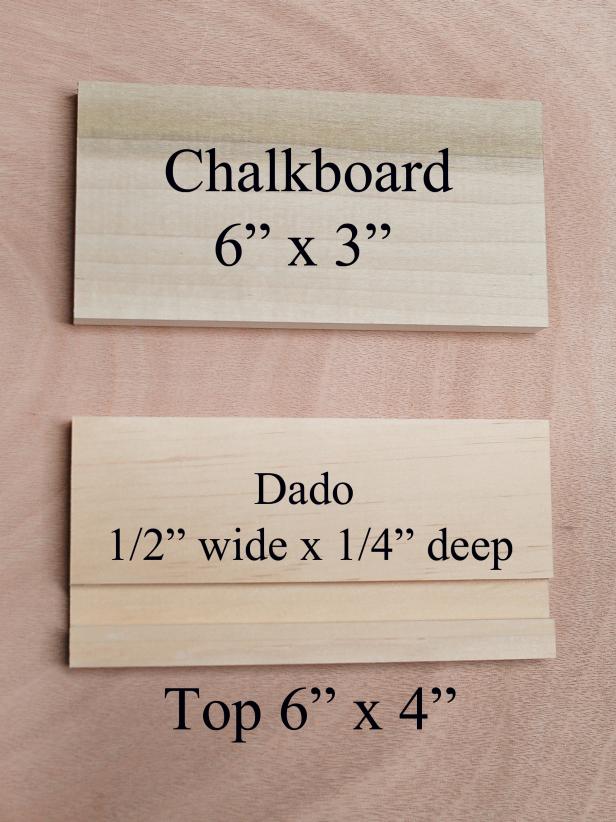
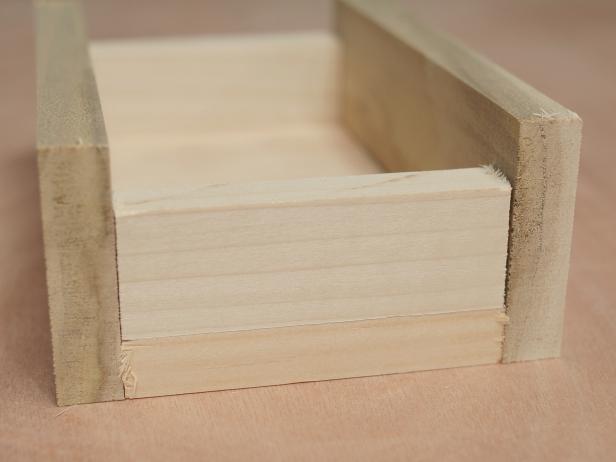
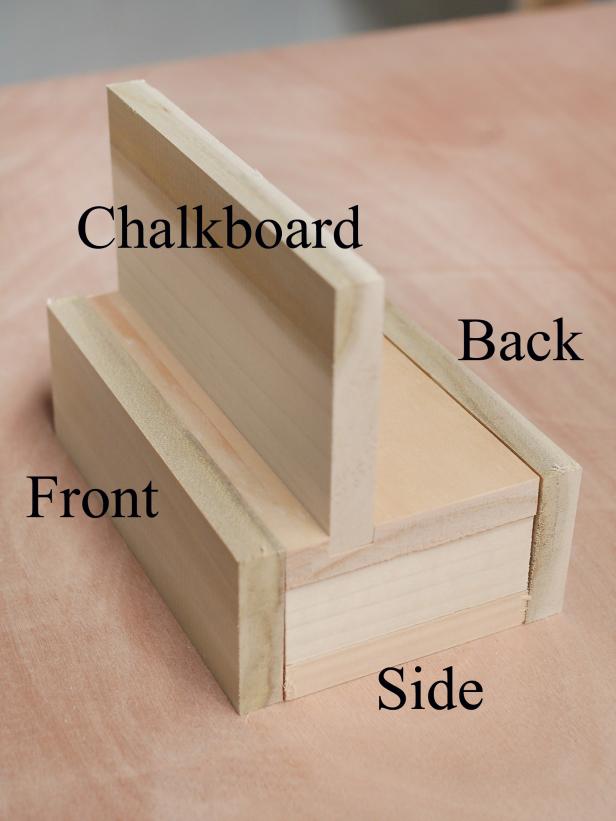
Cut poplar pieces to size on table saw. Cut a 1/2″ wide x 1/4″ deep dado on top side of top piece, 1/2 inch from front edge of box top (Images 1 and 2). Assemble all pieces without glue to ensure a proper fit (Images 3 and 4). Tip: Always wear safety glasses and follow manufacturer’s instructions when using power tools.
Apply wood glue to each joint and clamp into place, leaving the top unglued at this step. To prevent slipping, joints should be glued one or two at a time. Tip: Use small pieces of scrap wood or cardboard when clamping to prevent clamps from leaving marks in the wood.
Once all glued joints are fully dry, pour BBs into sandwich-sized zip-top bag (Image 1). Squeeze air out. Seal and fit into cavity of base (Image 2). Add or remove BBs, if necessary. BBs will add weight to base to support stocking.
Glue on base top and clamp into place. Once fully dry, remove from clamps (Image 1). Run all four edges around base top through a router. Run top and both sides of front edge of chalkboard plaque through router (Image 2). A 3/8-inch ogee bit was used in this project.
Fill small gaps with wood putty, if necessary. Allow putty to dry. Using sanding sponge, sandpaper or palm sander, smooth surfaces and edges of base. Tip: Start with a rough paper (60 or 80 grit) and work up to a fine paper (120-220 grit) for a smooth finish.
Apply a bead of wood glue to inside of dado. Insert flat side of chalkboard plaque into dado with routed edge facing forward. Allow time for glue to dry before moving to next step.
Use 1″ paintbrush to apply primer. Tip: Paint in long, smooth passes to reduce appearance of brush strokes. Allow primer to dry.
Tape off area where chalkboard will be painted. Cover every other surface with tape and paper to protect from overspray. Spray on two coats of chalkboard paint, allowing dry time between coats. Remove tape and paper once second coat is dry. Tip: When spraying, it’s better to apply two thin coats over one thick coat. If dripping does occur, allow the coat to dry, sand and reapply paint.
Apply two coats of white semigloss paint using 1″ paintbrush. Allow approximately four hours’ dry time between coats. If needed, tape off chalkboard.
Using ruler or tape measure, find center point on front of base. Place hardware on center point and mark with pencil. Drill pilot holes and attach hardware with screws.
Write names on the chalkboards, place them on the mantel and hang stockings from the hooks.